I’ve renovated three rented flats across the UK—Bristol, Glasgow, and Leeds—and never once paid a deposit deduction. That’s because I learned early: a gallery wall can transform a blank box into your space, but only if you respect the tenancy agreement. Plenty of UK tenants avoid personalised decor entirely because they fear damaging walls—and repair costs on a botched DIY job are enough to put anyone off.
TL;DR: You can have a chic gallery wall in a UK rental without nails, drills, or landlord panic. Use peel-and-stick adhesive hooks (~£4–£8), tension rods for larger pieces, and self-adhesive panels where appropriate. Stick to lightweight frames (under 1.5kg), and always test adhesives on a small patch first. I’ve pulled this off in all three of my rentals—zero damage, maximum joy.
1. Test Your Walls First
Plasterboard is standard in UK rented accommodation post-1990, but age matters—older properties often have lime plaster, which is brittle. Grab a small patch of peel-and-stick adhesive (like the ones in IKEA’s ‘FEBE’ range, ~£2.50) and stick it to your wall. Wait 48 hours, then peel off. If the paint lifts, switch strategies. Even on modern walls, avoid sticky patches near radiators or in high-humidity rooms like bathrooms—heat and moisture weaken adhesion. When in doubt, go freestanding: leaning a framed collage against the wall is 100% damage-free and looks effortlessly curated.
2. Use Adhesive Picture Hanging Hooks
Dunelm’s「Adhere」Adhesive Picture Hooks (£4.99 for 10) are a reliable bet—they hold up to 1kg each and are rated for UK drywall. Next Home also sells similar MDF hooks (£6.50 for 8) with clear adhesive backing. Important: apply to a clean, dry surface—wipe with isopropyl alcohol first. Press for 30 seconds, then wait 30 minutes before hanging anything. I’ve hung A2-sized prints in my Glasgow and Leeds rentals this way for over a year with no slippage. Avoid cheap no-name brands; Amazon UK’s generic hooks often degrade faster—stick to trusted names like 3M, Dunelm, or Next.
3. Go Frame-Light
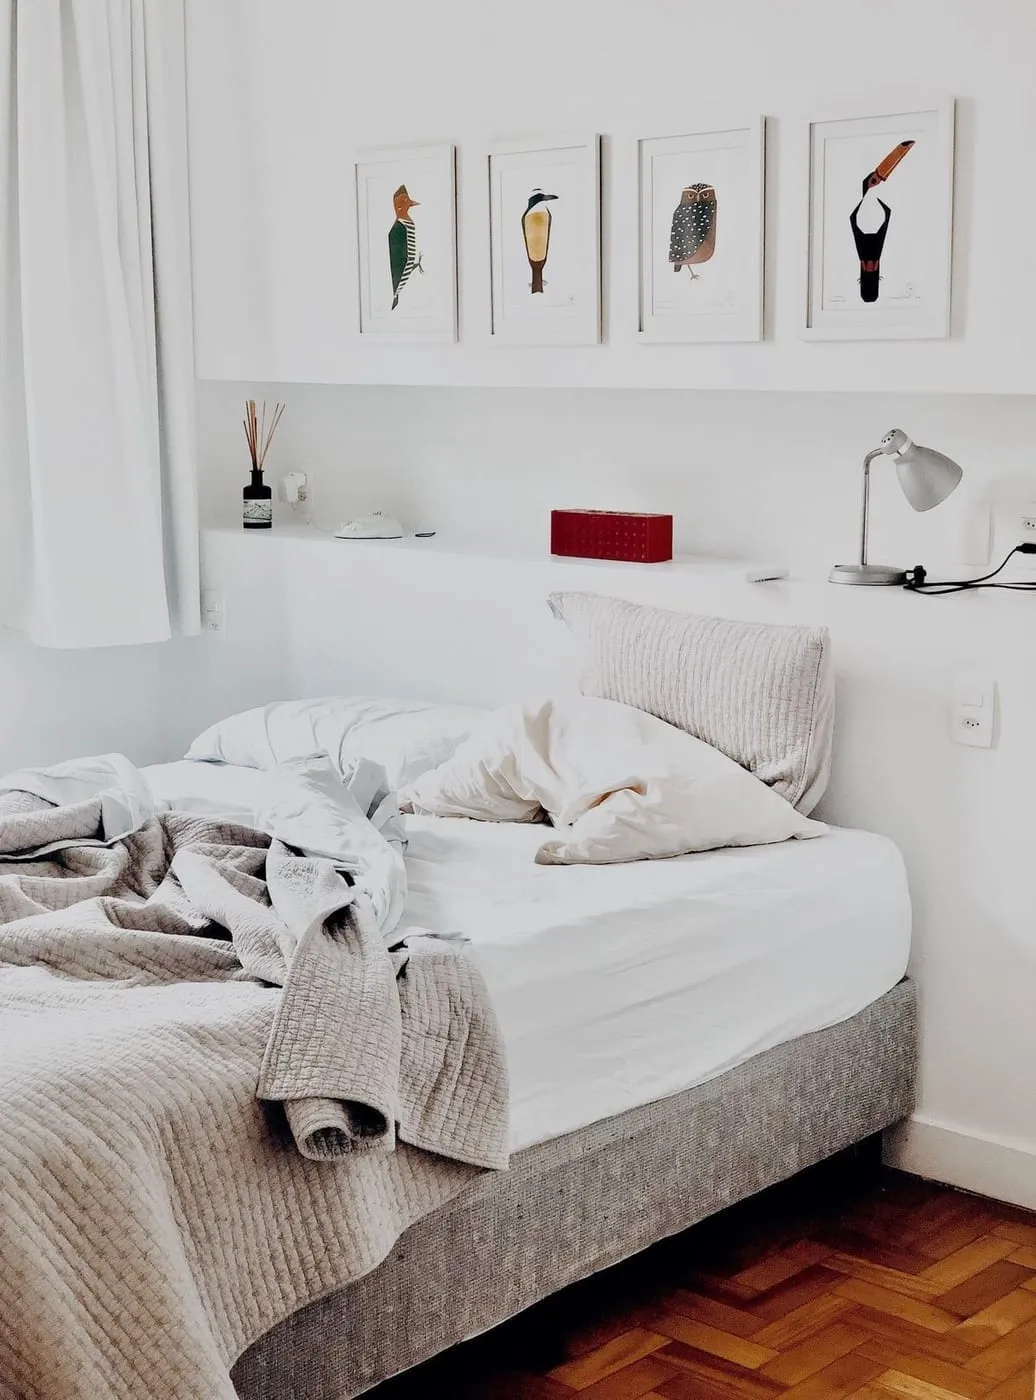
Heavy frames are the enemy of damage-free decorating. Stick to MDF or lightweight pine frames under 1.2kg. IKEA’s RIBBA frames (~£4–£8, depending on size) are the gold standard—thin, affordable, and work with peel-and-stick. For £1 extra, get them with acrylic glass instead of glass to reduce weight and shatter risk. Next Home’s ‘Stylecraft’ range has similar options at ~£6–£12 for A3. Bonus: buy blank frames and slip in your own printed art—more on that next.
4. Print Your Own Art (For Less Than £10)
Snapfish’s Frameable Prints (£7.99 for A3 with white border) or Amazon UK’s ‘Unframed Canvas’ service (£12 for A3 stretched) let you turn holiday snaps, heritage scans, or even free patterns into gallery-worthy pieces. Use Canva (free) to resize and crop—keep a consistent aspect ratio (I prefer 2:3). Print a black-and-white series for moody cohesion, or a botanical collection for gentle warmth. I’ve styled my Bristol flat with 12 self-printed A3 botanicals using this method, all hung with adhesive hooks. Total cost: ~£85, not £300+ for vintage prints.
5. Tension Rods for Larger Collages
When your gallery exceeds 1.5kg total weight or spans multiple heights, tension rods are your best friend. A 1.2m aluminium rod from B&Q (£6.99) or Dunelm (£7.50) slips between two window brackets or into floor-to-ceiling corners—no drilling needed. Drape your prints on the rod like a curtain, using clips (I love B&Q’s ‘Fixa’ mini clothes pegs, ~£2.50 for 6). It’s renter-safe, reversible, and works beautifully above a sofa or bed. In my Glasgow flat, I used this to hang a 1.8m-long family photo montage—tenancy inspection passed without comment.
6. Try Peel-and-Stick Wallpaper Backdrops
Dunelm’s Walltopia peel-and-stick wallpaper (~£24.99/roll, covers ~5m²) is ideal for a feature wall behind your gallery. Stick it over a whole wall (or just the central strip), then hang frames in front. My favourite combo: ‘Moss Green’Walltopia behind minimalist white RIBBA frames. It creates depth without permanent change—just roll off like a giant sticker. Avoid textured wallpapers; they trap air bubbles on uneven plaster. For smaller areas, try Self-Adhesive Tile Backer Sheet (B&Q, ~£12 for 1m²) for a textured, industrial backdrop.
7. Incorporate Freestanding Elements
Mix flat art with 3D objects to avoid wall dependency. Leaning a small shelf (IKEA LACK, ~£6) over your gallery holds keys, a tiny plant, and mini frames. Stack wood crates (Wayfair UK, ~£9.99 each) against the wall—stain one black for contrast, then prop art on top. Even a vintage suitcase (thrifted for ~£5) stacked with art books doubles as wall art and storage. In my Glasgow flat, I placed a leaning mirror between two gallery sections—it bounced light, made the room feel larger, and scored +£0 on my deposit return.
8. Stick to One Colour & Frame Style
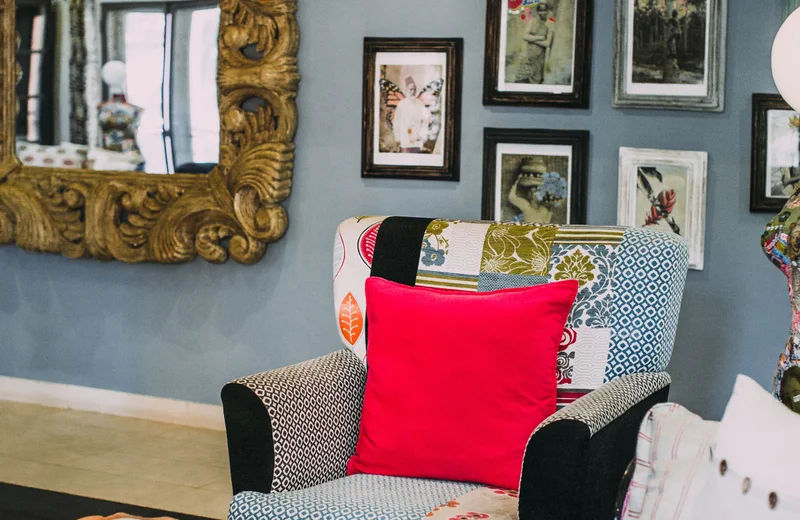
Visual unity matters more than variety when space is tight. White MDF frames (Next Home, ~£7/A3) instantly lift dark walls; black gives moody contrast. Avoid mixing wood tones unless you’re going maximalist (and even then, stick to warm or cool—never both). Your frames should match your door or skirting if possible—my Leeds flat had pale oak skirtings, so I picked oak-effect frames (IKEA, ~£8/A3). For photos, add black mat board behind prints to keep a consistent border. Less variation = more expensive feel.
9. Use Tension Rods for Mirrors
Small mirrors (under 30cm) can be hung with adhesive mirrors (B&Q’s ‘Adhere’ mirror tiles, ~£11.99/3-pack), but anything bigger? Go tension-rod. Suspend a 40×60cm oval mirror (Dunelm, ~£19.99) between two 1.2m rods, with black S-hooks (~50p at Dunelm). It looks intentional, not accidental—and removes cleanly. In my Leeds flat, this became the focal point above a console table. Landlord asked where I got it.
10. Rearrange Monthly
One mistake I see often: set it and forget it. Rotate your gallery seasonally—swap in summer prints in April, harvest tones in October. Use masking tape on the floor to plan layouts before hanging; this minimises repositioning stress on adhesives. I keep a folder on my phone titled ‘Gallery Layouts’ with screenshots of arrangements—I’ve reused three in three different flats. In winter, I favour warmer palettes and grouped photos; summer calls for monochrome and wide shots.
11. Borrow from Your Local Library
Yes, really. Many UK libraries (Bristol, Oxford, Norwich) lend art frames and even original prints—no deposit, no risk. Even if yours doesn’t, local community centres and cafés sometimes host ‘swap walls’ where tenants exchange home decor. In Manchester, the ‘Replay Room’ at Castlefield Bowl gives out free picture hooks and adhesive samples to locals. It’s a small network, but it’s real—and it saves £50+ on starter kits.
12. The £15 Trial Gallery
Before committing to your main wall, build a mini-test gallery on a spare shelf or tall bookshelf. Use five frames (IKEA RIBBA, ~£30 for A4-A3), plus a small mirror or vase. Then photograph it from your main viewing spot—the room’s lighting changes how things read. Adjust spacing: aim for 5–7cm gaps between frames. In my Bristol flat, the trial revealed I needed lighter frames—switched to white MDF, and the whole look felt more airy.
13. Use Fabric to Soften Edges
For a warm, layered look, drape linen fabric (Dunelm ‘Everyday Linen’, ~£8/metre) over the top of your gallery wall before hanging frames. Pin with invisible wall hooks (Dunelm, ~£4.99/10), or just let it pool naturally from a tension rod. I love oatmeal linen against black-and-white photos—it adds texture without needing nails. Bonus: washable at 30°C, and hides patchy plaster.
14. Clean Adhesives Regularly
Adhesive hooks collect dust and lose grip over time. Every 3 months, remove them and wipe the wall with a microfibre cloth and warm water. Never use sugar soap on adhesive residue—it can lift paint. Instead, use a rubber grooming stone (like those for pet hair, ~£2 at Aldi) to gently lift residue off surfaces. In my Leeds flat, this routine kept the walls looking new—and my deposit back in full.
The Gallery Wall Priority Order
- Test adhesive on a small patch first—never assume.
- Keep total weight under 1.5kg per hook point.
- Use white or black uniform frames for instant polish.
- Lean larger or heavier items instead of hanging.
- Rearrange seasonally to keep it feeling fresh.
- Clean hooks and walls every 3 months for longevity.
You don’t need to sacrifice style for safety. With careful planning and a few quid’s worth of adhesive, your rented flat can feel like yours—without the fear of losing your deposit. I’ve walked through inspection rooms expecting trouble, only to be told, “This looks fantastic—keep it.”
→ Renter-Friendly Flat Makeover UK
→ Small Living Room Ideas UK
→ Kitchen on a Budget UK for the deposit-safe approach in the kitchen
→ Deposit Deductions UK: What Landlords Actually Charge For for what a landlord can and can’t claim if a hole doesn’t come out clean
Frequently Asked Questions
Yes—3M Command™ Picture Hanging Strips (Medium, ~£5.99 for 16 at Dunelm) hold up to 1.6kg per strip pair and remove cleanly. I've used them for five years across my Bristol, Glasgow, and Leeds rentals with zero marks.
Avoid wall mounts entirely—opt for a freestanding leaning mirror instead. IKEA’s LACK Leaner Mirror is ~£24 and looks sharp against a gallery wall. For smaller mirrors, try self-adhesive mirror panels like those from B&Q’s ‘Adhere’ range (~£12/sheet).
When applied and removed correctly, most peel-and-stick wallpapers (e.g., Walltopia at Dunelm, ~£25/roll) don’t damage modern plasterboard. Always test a small area first and remove slowly at a 180° angle, not downwards.
Stick to one colour palette and frame style—white or black wood-look MDF frames from Next Home (~£6–£12 each) give instant cohesion. Lay out your layout on the floor first using masking tape to mark spacing, like I do in every flat I stage.