Retiling a kitchen splashback properly, with real tiles, adhesive, and grout, typically costs £150–£400 including a tradesperson, according to Checkatrade’s 2024 UK cost guides. Most of us don’t want to spend that on a wall behind a hob that’s otherwise fine.
I’ve fitted peel-and-stick tiles in two different rented kitchens now, and I’ve also painted over a splashback I genuinely couldn’t afford to replace. Neither cost more than £45, and both still look good a year or two later. This post covers every budget splashback option I’ve actually tried or researched properly: what works, what peels within a month, and how to avoid the one mistake that ruins most DIY attempts.
Read more: Kitchen on a Budget UK for the wider room refresh this fits into.
What’s the Cheapest Kitchen Splashback Option in the UK?
Peel-and-stick tile sheets are the cheapest genuine splashback option available, costing £25–£45 for a standard area at Dunelm, Wilko, or Amazon UK (Dunelm, 2026). They need no adhesive, no grout, and no tools beyond scissors and a credit card for smoothing.
I first used peel-and-stick sheets behind a gas hob in a rented flat where retiling wasn’t allowed. Two years on, they’re still fully stuck down, and I’ve had three separate visitors ask if they’re real tile. The brands I’d actually trust after using them are Crearreda and Vinyltiles, both widely stocked on Amazon UK, plus Wilko’s own-brand mosaic-effect sheets from around £6 per A4 panel.
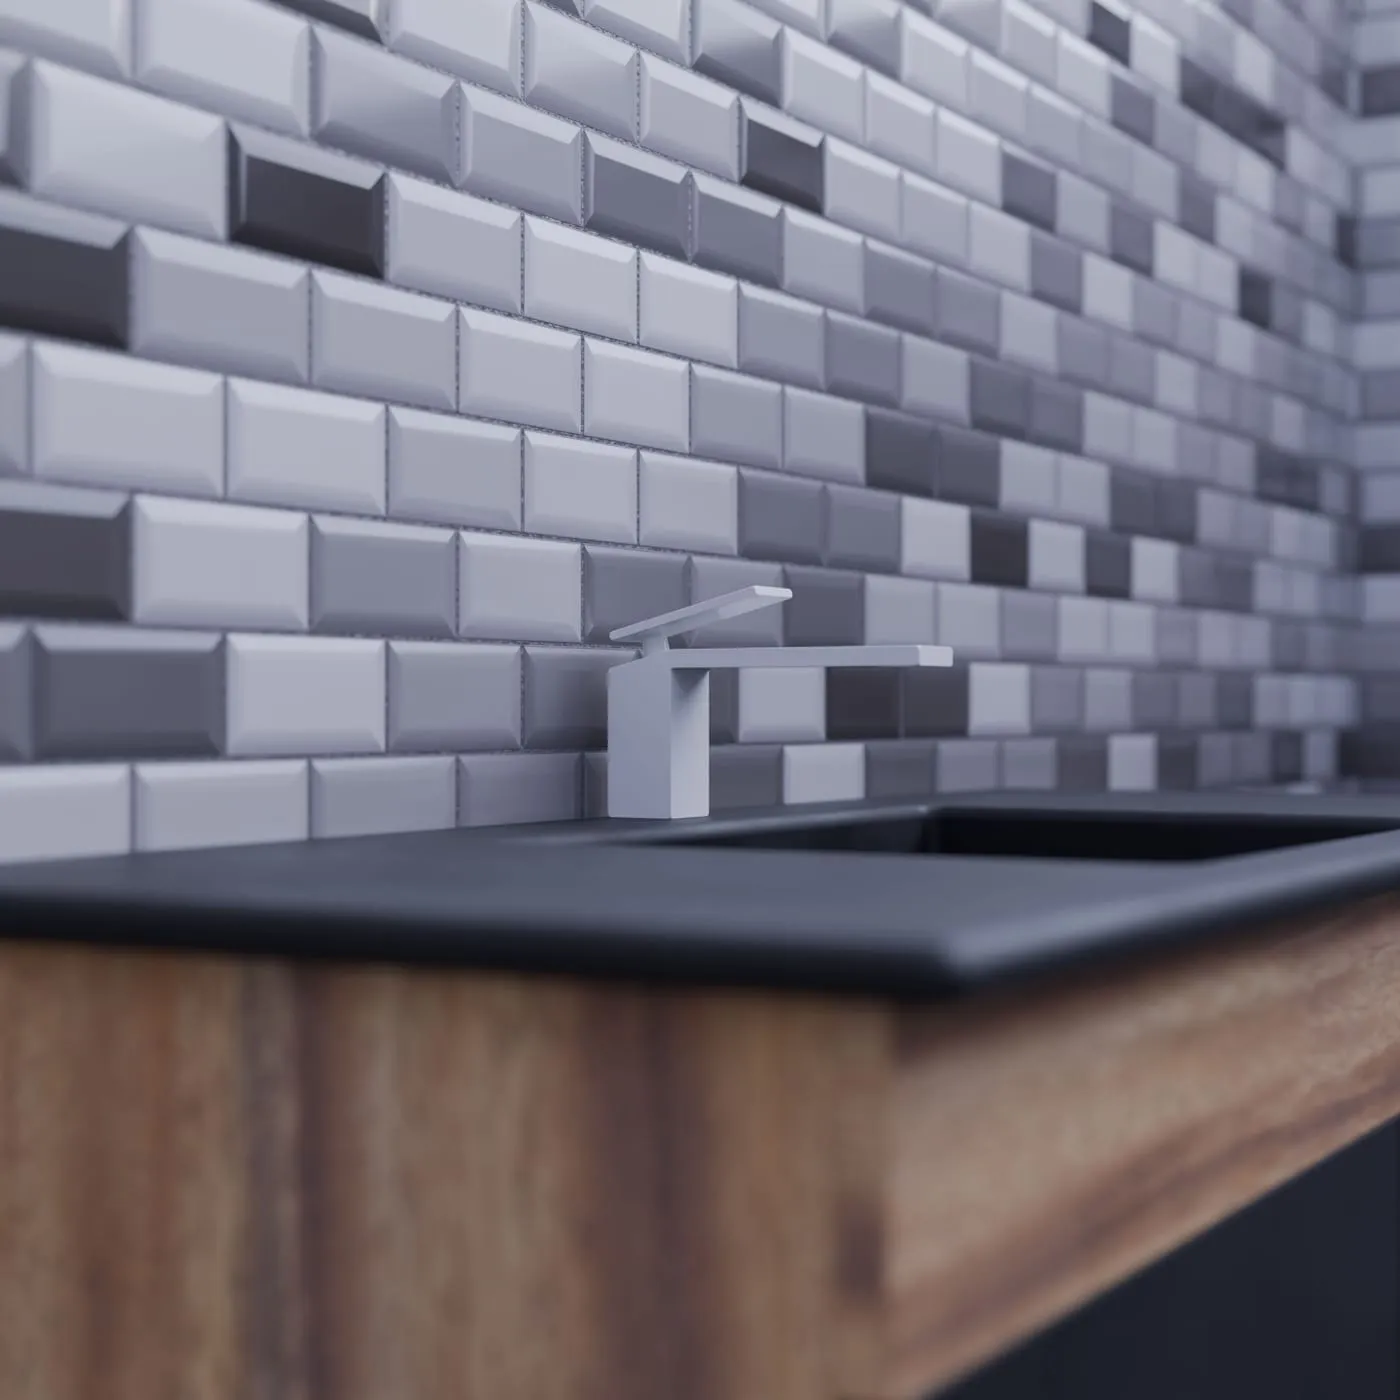
Coverage varies by brand. A3-sized sheets (roughly 42cm x 30cm) need six to eight sheets for a standard splashback behind a single hob run, so budget on the higher end if your kitchen has a wide gap between worktop and wall units. Metro, hexagon, and Moroccan-tile patterns are the most convincing from a normal viewing distance — a blue zellige-effect sheet is a newer option worth checking stock for if you want something with more visual texture than a flat metro tile.
Peel-and-stick tile sheets cost £25–£45 for a standard UK kitchen splashback and require no grout or permanent adhesive, making them the most renter-friendly budget splashback option currently available (Dunelm, 2026).
Can You Just Paint Over Old Kitchen Tiles?
Yes, tile paint is a genuine option if your existing tiles are structurally sound but visually dated, and a two-part tile paint kit costs from £25–£35 at B&Q or Screwfix. It’s the cheapest fix when the tiles themselves aren’t the problem, just the colour or grout.
Ronseal One Coat Tile Paint and Rust-Oleum’s tile paint range are the two most reliable options sold in the UK. Both need a thorough clean with sugar soap, light sanding to key the glazed surface, and two coats with proper drying time between each. Skip the sanding and the paint will peel within months.
Most guides treat tile paint as a last resort, but I’d argue it’s actually underused. It’s the only option on this list that also refreshes the grout lines in the same step, since the paint coats everything in one continuous colour. That single detail makes a dated multicoloured 1990s splashback look genuinely modern for under £30.
Tile transfer stickers (individual adhesive tile-front designs, from £1–£2 each at Amazon or Etsy UK) are a lighter-touch alternative if the existing tiles are plain white and just need pattern rather than a full colour change. They stick directly onto individual tiles and can be removed later without paint scraping.
Tile paint only works on tiles that are firmly bonded to the wall. Tap each tile first: a hollow sound means it’s come loose behind the surface, and paint won’t fix that.
Two-part tile paint kits from Ronseal and Rust-Oleum, priced £25–£35 at B&Q and Screwfix, refresh sound but dated kitchen tiles without the cost or disruption of full retiling (B&Q product listings, 2026).
Are Acrylic or Glass Splashback Sheets Worth the Extra Cost?
A cut-to-size acrylic splashback sheet costs £60–£150 depending on dimensions, while toughened glass runs from £300 upwards, making acrylic the sensible mid-budget step between peel-and-stick tile and a full retile. Both give a completely seamless, grout-free finish.
Acrylic splashback sheets are sold pre-cut to standard hob widths (typically 60cm, 70cm, and 90cm) by suppliers like Wickes and various specialist splashback retailers who deliver UK-wide. You fit them with a combination of panel adhesive and a silicone seal around the edges, a job most confident DIYers can manage in an afternoon.
The advantage over tiles, stick-on or real, is the total absence of grout lines. That means nothing for grease and steam to sit in, which matters more than people expect in a kitchen used daily. The downside is permanence: once an acrylic sheet is adhered and silicone-sealed, it isn’t a renter-friendly, remove-without-a-trace option the way peel-and-stick sheets are — for the fully reversible options, see our rental kitchen upgrade guide.
If budget allows the step up, acrylic behind a hob genuinely looks like a fitted kitchen upgrade rather than a DIY fix, particularly in a bold colour or a marble-effect print.
Cut-to-size acrylic splashback sheets cost £60–£150 in the UK, sitting between peel-and-stick tile and toughened glass (from £300) as a seamless, grout-free mid-budget option (Checkatrade cost guides, 2024).
How Do You Fit Peel-and-Stick Splashback Tiles Without Them Peeling?
The most common cause of early peeling is grease left on the wall before application, so a thorough degrease with sugar soap is the single step people skip most often. Get this wrong and even the best sheets lift within weeks.
Measure first. Measure the width and height of the area between your worktop and the underside of your wall units, then add roughly 5% extra to account for pattern matching at the edges. Most splashback runs behind a single hob need between 0.6 and 1.2 square metres of coverage.
Clean properly. Wipe the entire wall down with sugar soap (around £3 from B&Q or Screwfix) and a clean cloth, then let it dry fully. Kitchen walls near a hob accumulate a fine layer of cooking grease even if they look clean, and that residue stops adhesive backing from bonding properly.
Cut and dry-fit. Cut sheets slightly oversized with sharp scissors or a craft knife, then hold each piece up dry before peeling the backing, so you can check pattern alignment and trim as needed.
Apply from one corner. Peel back a small section of backing, position carefully, and press outward from the starting corner using a credit card or plastic scraper to push out air bubbles as you go. Rushing this step is how you end up with visible bubbles under the surface.
Leave expansion gaps near heat. Leave a small 2–3mm gap at any edge close to the hob itself, since sheets pressed flush against a direct heat source are the ones most likely to lift at the corner first.
Of the two peel-and-stick installs I’ve done personally, the one where I properly degreased and left a heat gap has had zero lifting after two years. The one where I rushed the clean, on a smaller test patch in a previous flat, started curling at one corner within about four months. Same product, same brand, different prep.
Grease residue left on the wall before applying peel-and-stick tiles is the leading cause of early edge peeling, and sugar soap cleaning beforehand resolves it in most cases, according to standard fitting guidance from UK peel-and-stick tile suppliers.
Which Splashback Option Should You Choose?
| Option | Cost | Grout-free | Renter-safe | Best for |
|---|---|---|---|---|
| Peel-and-stick tile sheets | £25–£45 | Yes | Yes | Renters, quick refresh |
| Tile paint (over existing tiles) | £25–£35 | No (paints existing grout) | No | Sound tiles that just look dated |
| Tile transfer stickers | £1–£2 per tile | No | Semi | Plain tiles needing pattern |
| Acrylic splashback sheet | £60–£150 | Yes | No | Permanent, seamless upgrade |
| Toughened glass splashback | £300+ | Yes | No | Full kitchen renovation budget |
If you’re renting or simply not ready to commit, start with peel-and-stick tile sheets. They’re the lowest cost, the lowest risk, and fully reversible if you move house. If your existing tiles are sound and you own the property, tile paint gives a near-total refresh for less money than any alternative. Acrylic sheets are the sensible next step up once you want something permanent and completely seamless.
Frequently Asked Questions
What is the cheapest way to do a kitchen splashback in the UK? Peel-and-stick tile sheets are the cheapest genuine splashback option, from £25–£45 for a standard area at Dunelm, Wilko, or Amazon UK. Tile paint on existing tiles costs even less, from £15, but only works if the tiles underneath are sound.
Do peel and stick tiles work in a UK kitchen? Yes, provided the wall is clean, flat, and grease-free before application. They handle everyday cooking splashes well but can lift near direct hob heat over time, so leave a small gap and avoid placing them right against the hob edge.
Can you tile over old kitchen tiles cheaply? You can paint over sound old tiles with a two-part tile paint kit (from £25 at B&Q or Screwfix) rather than retiling. This works only if tiles are firmly stuck and not cracked or hollow-sounding when tapped.
How much does an acrylic splashback cost in the UK? A cut-to-size acrylic splashback typically costs £60–£150 depending on size and finish, versus £300 or more for toughened glass. Both are fitted with adhesive and silicone rather than tiled, so there’s no grout to maintain.
None of these options need a tradesperson, and most can be finished in a single afternoon. Start with the cheapest reversible option, peel-and-stick sheets, if you’re renting or unsure about committing. Move up to tile paint or acrylic sheets once you know the look you actually want to keep.
For the rest of the kitchen refresh, from cabinet paint to new handles, see the full Kitchen on a Budget UK guide for the complete room-by-room breakdown.
The budget kitchen series — each part in depth:
Frequently Asked Questions
Peel-and-stick tile sheets are the cheapest genuine splashback option, from £25–£45 for a standard area at Dunelm, Wilko, or Amazon UK. Tile paint on existing tiles costs even less, from £15, but only works if the tiles underneath are sound.
Yes, provided the wall is clean, flat, and grease-free before application. They handle everyday cooking splashes well but can lift near direct hob heat over time, so leave a small gap and avoid placing them right against the hob edge.
You can paint over sound old tiles with a two-part tile paint kit (from £25 at B&Q or Screwfix) rather than retiling. This works only if tiles are firmly stuck and not cracked or hollow-sounding when tapped.
A cut-to-size acrylic splashback typically costs £60–£150 depending on size and finish, versus £300 or more for toughened glass. Both are fitted with adhesive and silicone rather than tiled, so there's no grout to maintain.